24/7 Emergency Service
Thinking about installing a split air conditioner yourself? A split AC can provide efficient, room-specific cooling without the extensive ductwork required by many central systems. However, installation involves more than mounting an indoor unit and connecting it to an outdoor condenser. AC installation in Kansas City requires attention to equipment sizing, placement, electrical requirements, drainage, refrigerant connections, and local conditions. This guide explains the main installation stages, what homeowners can realistically handle themselves, and when professional assistance is the better option.
Steps to Install a Split AC
Step 1: Choose the Right Location
The location of both units can influence how effectively the system operates. The indoor unit should generally be positioned where air can circulate across the room without being blocked by furniture, curtains, or architectural features.
The outdoor condenser needs a stable surface and sufficient clearance around it for airflow and service access. Avoid placing it where leaves, debris, or other obstructions could restrict airflow.
The distance between the indoor and outdoor units also matters. Every model has manufacturer-specified limits for line length, elevation changes, and installation configuration.
Step 2: Mount the Indoor Unit
Once the location has been selected, the mounting plate can be positioned and secured to the wall. It needs to be level and firmly attached to an appropriate structural surface.
A passage through the wall is then created for the refrigerant lines, communication cable, and condensate drain. The opening should be planned carefully to help protect the lines and maintain a suitable drainage path. The indoor unit is then positioned on its mounting plate.
Step 3: Position the Outdoor Condenser
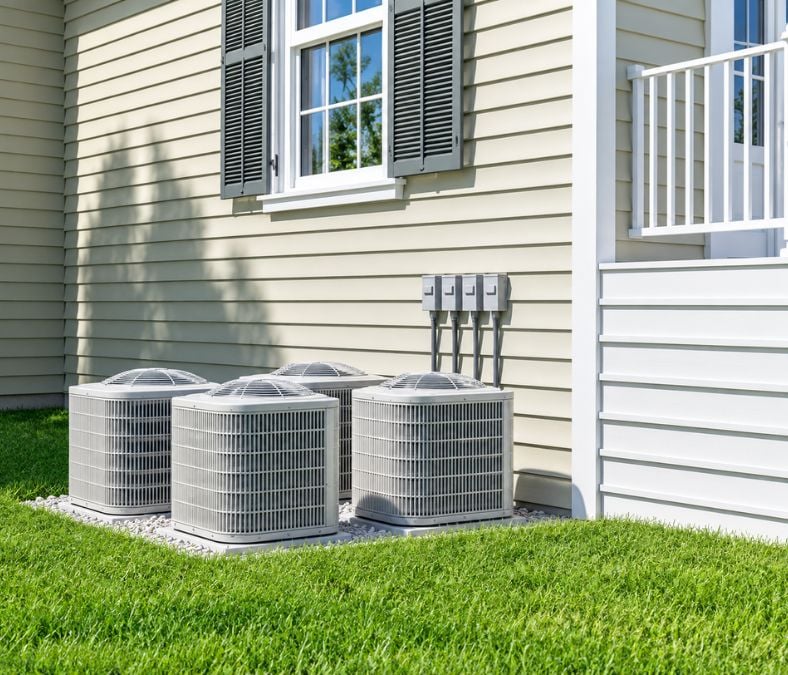
The outdoor unit should sit on a stable, level base capable of supporting its weight and minimizing vibration. It should also have enough surrounding space for air movement and future maintenance.
Avoid enclosing the condenser in a way that restricts airflow. Placement should account for nearby walls, landscaping, debris, and other potential obstructions.
Step 4: Connect the Refrigerant Lines and Drain
The refrigerant lines connect the indoor evaporator to the outdoor condenser and form a critical part of the cooling system. Installation requires appropriate tools and techniques to create secure connections and protect the refrigerant circuit.
The condensate drain must also be routed correctly so water can leave the indoor unit without backing up or leaking into the home.
This is one of the stages where professional installation becomes especially important. According to the U.S. Environmental Protection Agency, technicians who perform work that could compromise an appliance’s refrigerant circuit and release refrigerant generally need Section 608 certification. EPA specifically notes that this requirement applies to certain mini-split installation activities.
Step 5: Test the System
After the physical installation is complete, the system needs to be tested according to the manufacturer’s procedures. This can include checking electrical operation, airflow, temperature performance, drainage, connections, and the refrigerant circuit.
Professional technicians use appropriate instruments to verify that the system is operating correctly rather than simply switching it on and assuming the installation is successful.
Testing can also reveal problems such as poor drainage, inadequate airflow, connection issues, unusual operating conditions, or other installation-related concerns before they become larger problems.
When Should You Hire a Professional?
Professional installation is generally the better choice when the project involves refrigerant work, electrical connections, difficult wall penetrations, complex line routing, or unfamiliar equipment.
It can also be useful when the manufacturer requires professional installation to preserve warranty coverage. Installation requirements vary by equipment, so homeowners should review the manufacturer’s documentation before starting any work.
A qualified professional can also assess the property, confirm appropriate equipment placement, complete specialized installation procedures, and test the system after installation.
For more information about refrigerant handling requirements, homeowners can consult the U.S. Environmental Protection Agency’s Section 608 guidance.

Choosing MVP Air Conditioning, Heating, Plumbing & Electric
A split AC installation should provide more than immediate cooling. Correct equipment selection, careful installation, safe connections, and thorough testing all contribute to dependable operation.
MVP Air Conditioning, Heating, Plumbing & Electric can help homeowners navigate the installation process with professional HVAC expertise. Rather than treating installation as a simple DIY project, homeowners can receive guidance based on their property’s cooling requirements and the equipment being installed.
When refrigerant or electrical work is involved, professional support can provide an added layer of safety and help ensure the system is installed according to applicable requirements.
Key Takeaways
- Split AC installation involves indoor and outdoor unit placement, electrical connections, refrigerant lines, drainage, and system testing.
- Proper sizing and placement can affect comfort, efficiency, and long-term performance.
- Some installation tasks involve refrigerant handling and electrical work that should be completed by qualified professionals.
- Understanding the installation process helps homeowners make informed decisions about their cooling system.
Frequently Asked Questions:
How long does split AC installation take?
Installation time varies according to the system, line length, electrical requirements, wall construction, and accessibility. A straightforward installation may take less time than a project requiring extensive line routing or electrical modifications.
Where should a split AC indoor unit be installed?
The indoor unit should generally be positioned where air can circulate effectively throughout the room. It should also have adequate clearance and be located according to the manufacturer's installation requirements.
Does a split AC need a drain?
Yes. Cooling creates condensate at the indoor evaporator, so the system needs a suitable drainage path. Poor drainage can result in water accumulation or leakage.
Can I install a mini-split without professional help?
Some non-refrigerant preparation may be possible for experienced homeowners, but complete installation can involve refrigerant and electrical work. EPA requirements may apply when installation activities could compromise the refrigerant circuit, so qualified professional assistance is recommended for those tasks.

 Business Hours
 Quicklinks